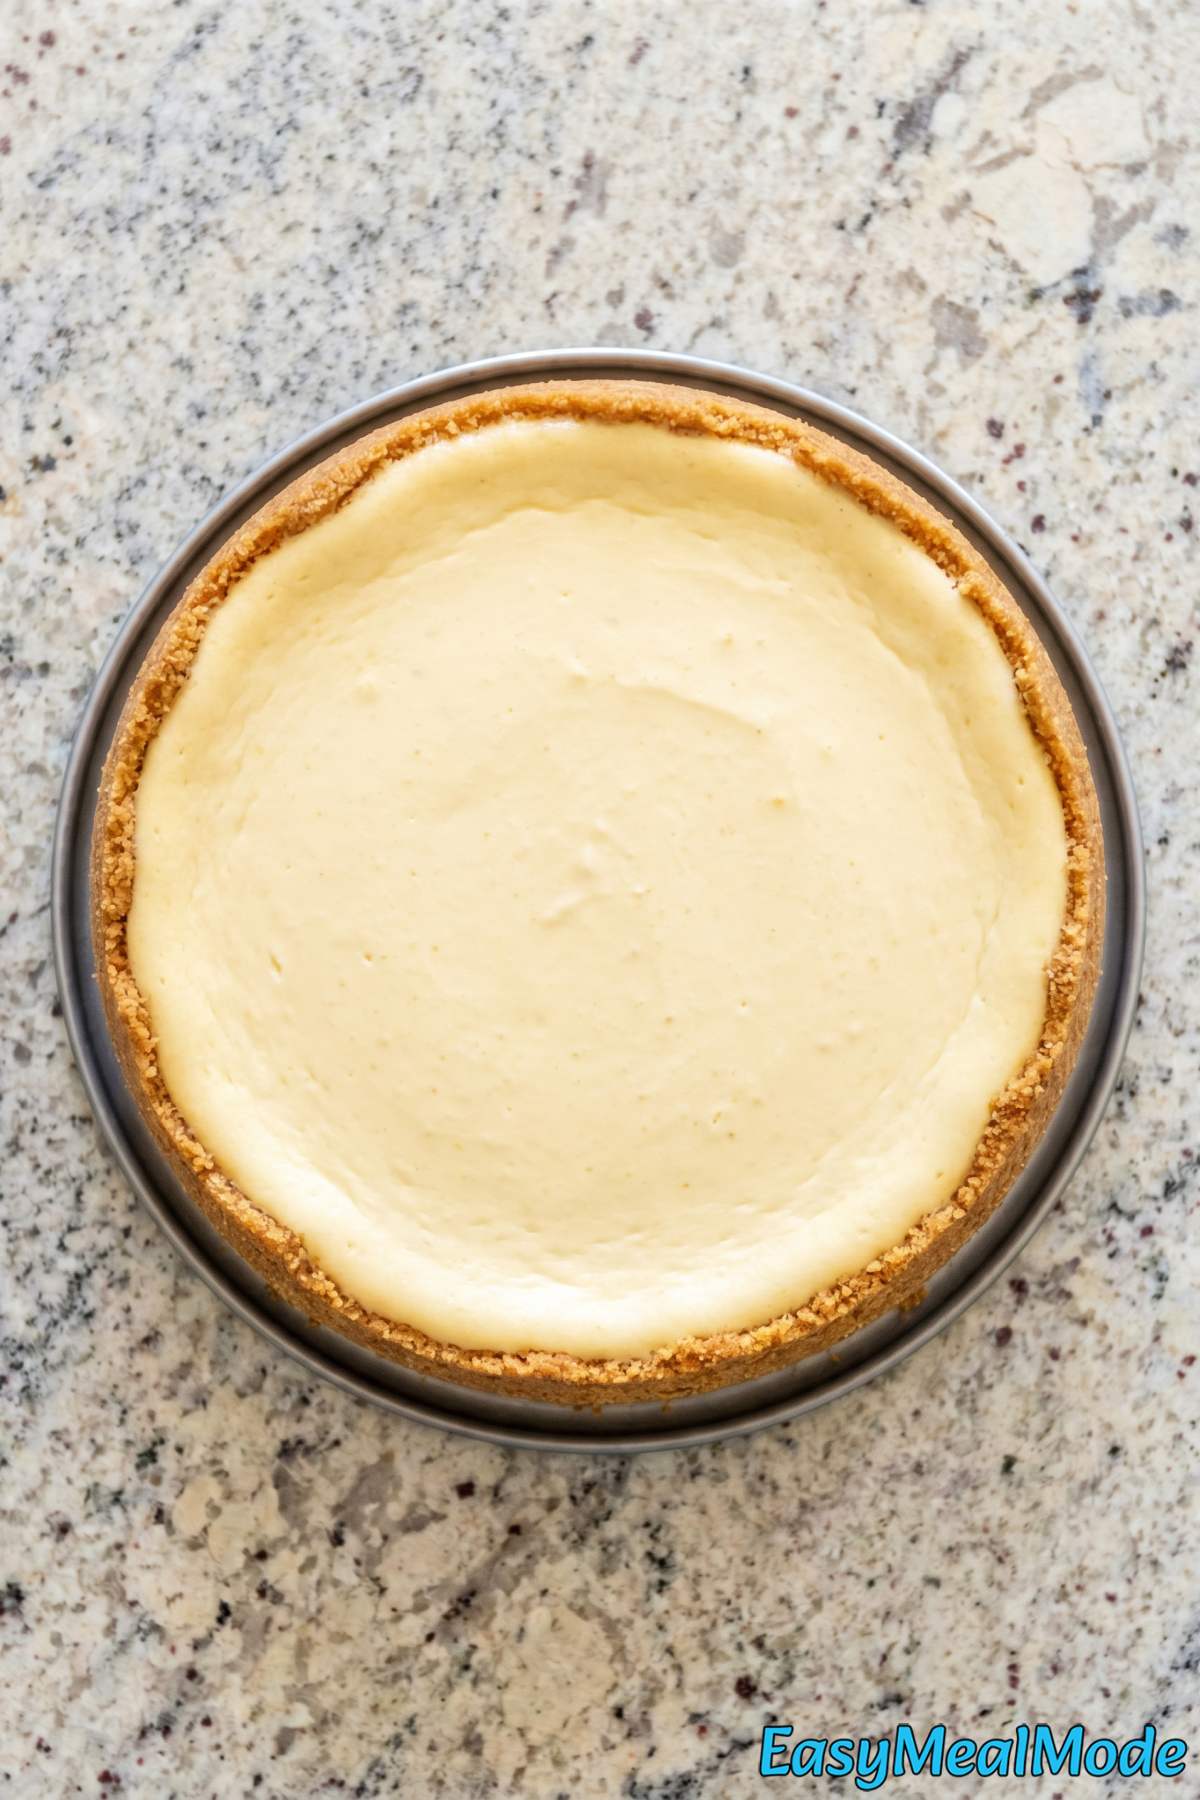
If you’ve never made a cheesecake in your instant pot before, you’re in for a nice surprise. It comes out incredibly creamy and smooth, and it’s honestly easier than baking one in the oven.
No water bath to worry about, no cracked tops, and no need to babysit your oven temperature. The instant pot handles all of that for you.
This instant pot cheesecake has a buttery graham cracker crust and a rich, classic filling that tastes just like the real deal. Because it is the real deal.
The whole process is pretty straightforward. You make the crust, mix the filling, and let the pressure cooker do its thing.
The hardest part is waiting for it to chill in the fridge. But trust me, it’s worth the wait.
What Makes This Recipe So Good
Foolproof for Beginners – Cheesecake can be intimidating, but this recipe removes the guesswork of oven temperatures and water bath setups because the Instant Pot handles all of that for you with just one button.
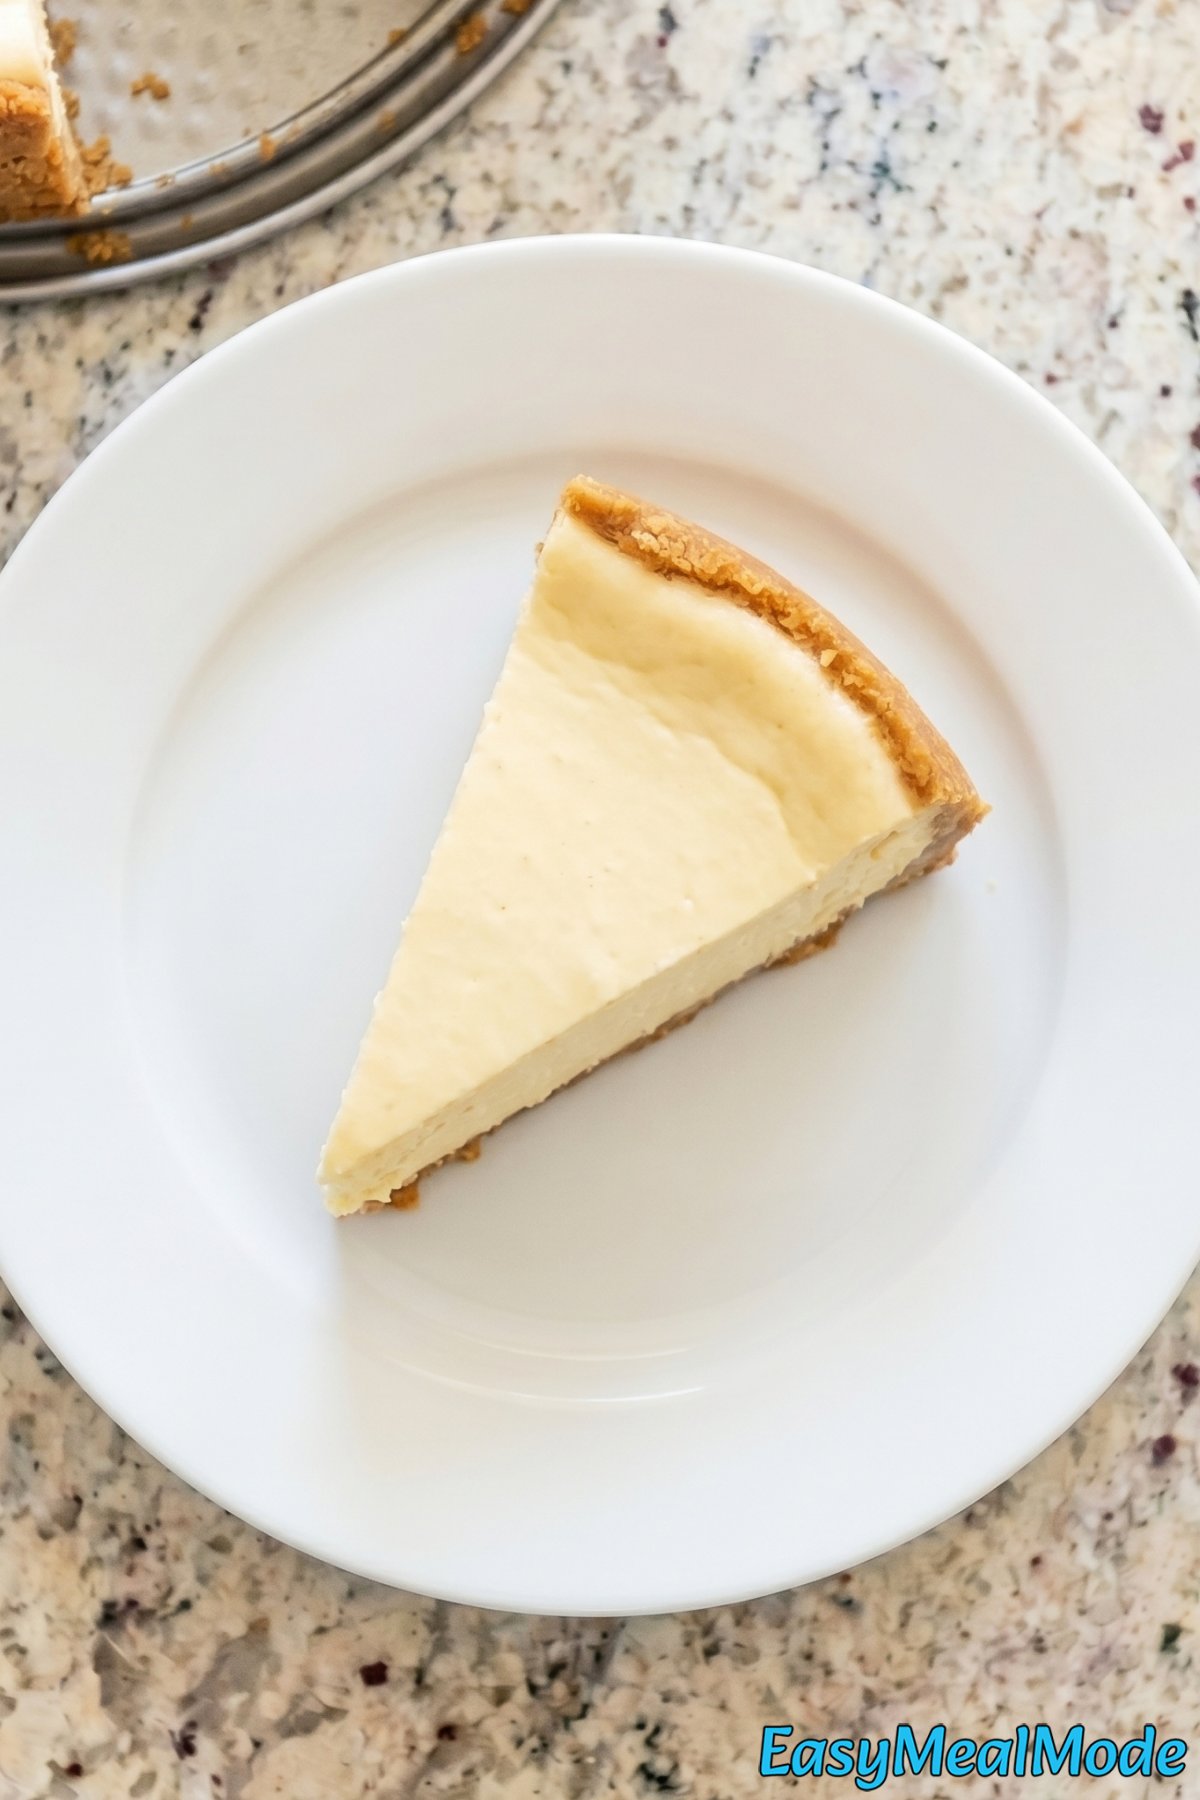
Classic Flavor Done Right – The combination of tangy cream cheese, a hint of sour cream, and real vanilla on a buttery graham cracker crust gives you that rich, New York-style cheesecake flavor without any complicated or hard-to-find ingredients.
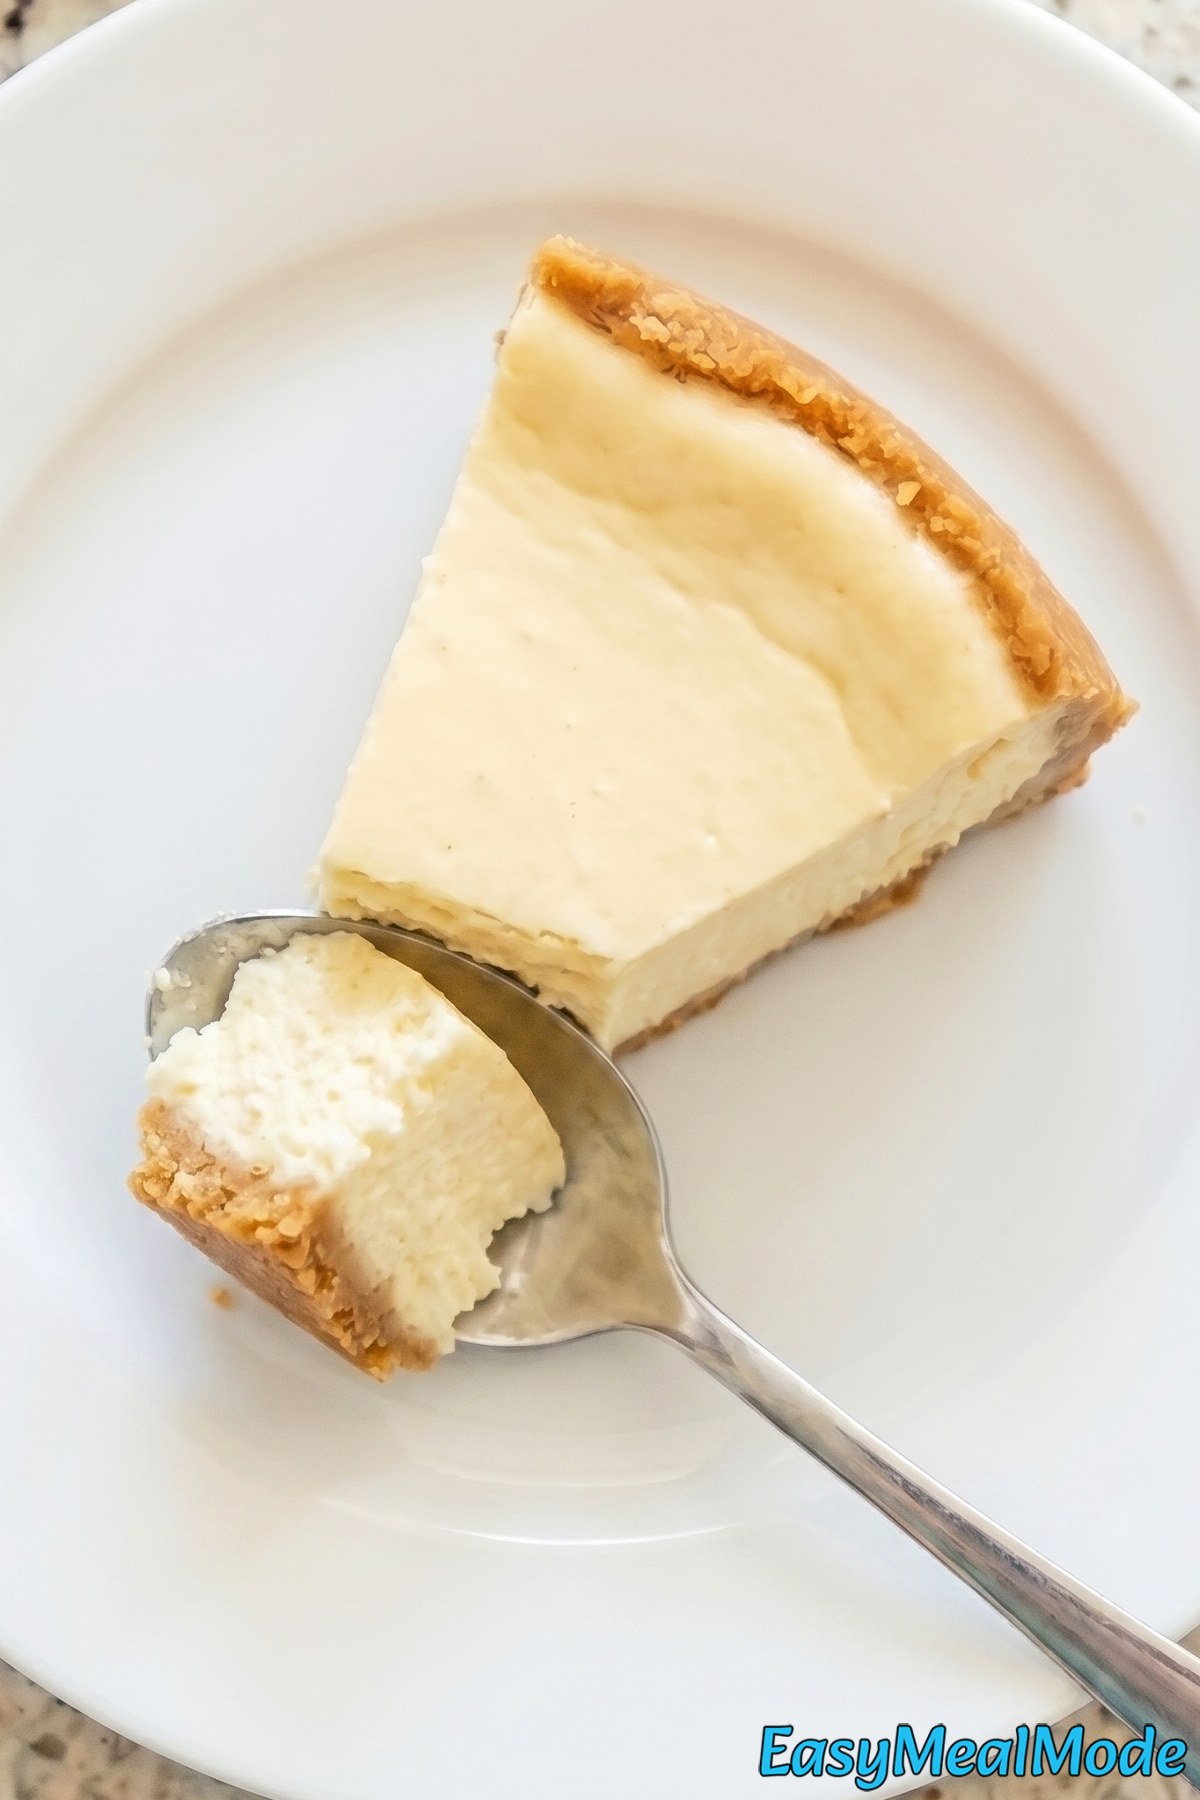
Incredibly Creamy Texture – The pressure cooking method produces a cheesecake that is denser and silkier than most oven versions because the steam gently and evenly cooks the filling without drying it out at all.
Ingredients
For the Crust
- 1 1/2 cups Graham Cracker Crumbs
- 3 tbsp Granulated Sugar
- 5 tbsp Unsalted Butter, melted
For the Filling
- 16 oz Cream Cheese, softened
- 1/2 cup Granulated Sugar
- 2 Large Eggs, room temperature
- 1/3 cup Sour Cream
- 1 tsp Pure Vanilla Extract
- 2 tbsp All-Purpose Flour
- 1 1/2 cups Water (for the pot)
Directions
Step 1
Stir together the graham cracker crumbs, sugar, and melted butter until evenly moistened. Press the mixture firmly into the bottom and about 1 inch up the sides of a greased 7-inch springform pan. Place the pan in the freezer while you make the filling.
Step 2
Beat the softened cream cheese and sugar with an electric mixer on medium speed until completely smooth, about 3 minutes, scraping down the sides as needed. Beat in the eggs one at a time on low speed, mixing just until each is incorporated.
Step 3
Add the sour cream, vanilla extract, and flour to the batter. Mix on low speed until just combined. Do not overmix. Pour the filling into the prepared crust and smooth the top with a spatula. Cover the pan tightly with aluminum foil.
Step 4
Pour the water into the Instant Pot and place the trivet inside. Create a foil sling by folding a long piece of foil lengthwise into a strip. Set the cheesecake pan on the sling and carefully lower it onto the trivet.
Step 5
Lock the lid, set the valve to sealing, and cook on high pressure for 35 minutes. When the cook time is done, let the pressure release naturally for 10 minutes, then carefully turn the valve to venting to release any remaining pressure.
Step 6
Lift the cheesecake out using the foil sling. Remove the foil cover and gently blot any moisture on top with a paper towel. Let it cool on a wire rack at room temperature for about 1 hour.
Step 7
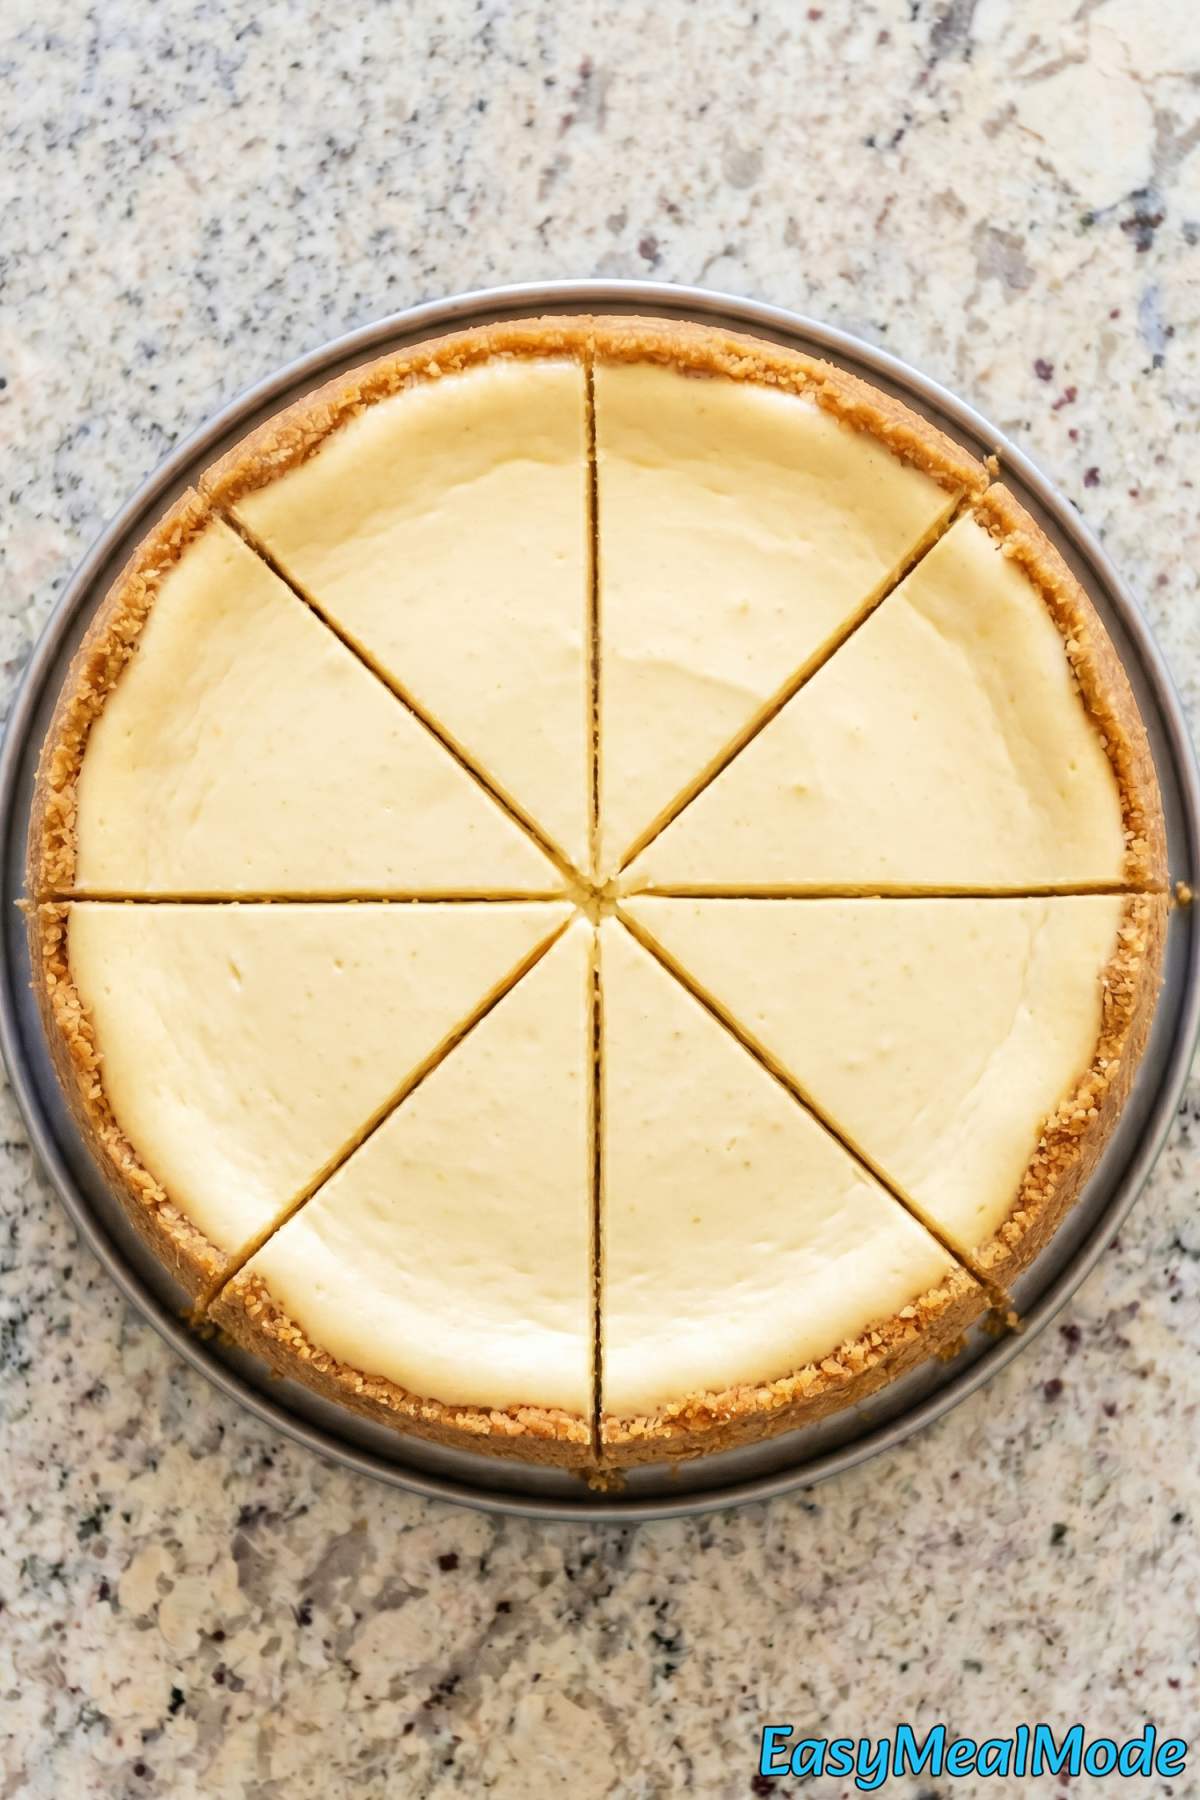
Cover the cheesecake loosely and refrigerate for at least 6 hours or overnight. Once fully chilled, run a thin offset spatula around the edge, release the springform ring, slice, and serve.
Pro Tips
Make Sure the Cream Cheese Is Actually Soft
This is the biggest thing that can mess up your cheesecake. If the cream cheese isn’t fully softened, you’ll get lumps in the batter that no amount of mixing will fix.
Take it out of the fridge at least an hour before you start. It should be easy to press with your finger and feel almost like thick frosting.
If you forgot to take it out early, cut it into small cubes and let it sit for about 30 minutes. That speeds things up a lot.
Cover the Pan Tightly With Foil
The foil cover isn’t optional here. Inside the Instant Pot, steam is everywhere, and if that moisture drips onto your cheesecake, the top will get soggy and the texture will be off.
Use a good-sized piece of foil and press it tightly around the edges of the pan so there are no gaps. If you’re worried about it, use two layers. It takes an extra 10 seconds and saves you from a waterlogged cheesecake.
Don’t Skip the Natural Pressure Release
When the 35 minutes are up, let the pressure come down on its own for a full 10 minutes before you touch the valve. This matters more than you’d think.
If you do a quick release right away, the sudden change in pressure can cause the cheesecake to crack right down the middle. The slow release lets it adjust gradually so the surface stays smooth.
Related Recipes
- Instant Pot Mac & Cheese
- Instant Pot Mashed Potatoes
- Instant Pot Broccoli Cheddar Soup
- Instant Pot Chicken Alfredo Pasta
- Instant Pot Creamy Tuscan Chicken
Frequently Asked Questions
What if I don’t have a 7-inch springform pan?
A 7-inch pan is the standard size that fits inside most 6-quart and 8-quart Instant Pots, so it’s really the best option here. A 6-inch pan will also fit, but the cheesecake will be thicker and you’ll need to add about 5-10 extra minutes of cook time.
An 8-inch pan won’t fit in a standard Instant Pot, so avoid that size. If you’re making this recipe often, a 7-inch springform pan is a worthwhile little investment.

Instant Pot Cheesecake
Equipment
- Instant Pot
- 7-inch springform pan
- electric mixer
- trivet
Ingredients
For the Crust
- 1 1/2 cups Graham Cracker Crumbs
- 3 tbsp Granulated Sugar
- 5 tbsp Unsalted Butter, melted
For the Filling
- 16 oz Cream Cheese, softened
- 1/2 cup Granulated Sugar
- 2 Large Eggs, room temperature
- 1/3 cup Sour Cream
- 1 tsp Pure Vanilla Extract
- 2 tbsp All-Purpose Flour
- 1 1/2 cups Water (for the pot)
Instructions
- Stir together the graham cracker crumbs, sugar, and melted butter until evenly moistened. Press the mixture firmly into the bottom and about 1 inch up the sides of a greased 7-inch springform pan. Place the pan in the freezer while you make the filling.
- Beat the softened cream cheese and sugar with an electric mixer on medium speed until completely smooth, about 3 minutes, scraping down the sides as needed. Beat in the eggs one at a time on low speed, mixing just until each is incorporated.
- Add the sour cream, vanilla extract, and flour to the batter. Mix on low speed until just combined. Do not overmix. Pour the filling into the prepared crust and smooth the top with a spatula. Cover the pan tightly with aluminum foil.
- Pour the water into the Instant Pot and place the trivet inside. Create a foil sling by folding a long piece of foil lengthwise into a strip. Set the cheesecake pan on the sling and carefully lower it onto the trivet.
- Lock the lid, set the valve to sealing, and cook on high pressure for 35 minutes. When the cook time is done, let the pressure release naturally for 10 minutes, then carefully turn the valve to venting to release any remaining pressure.
- Lift the cheesecake out using the foil sling. Remove the foil cover and gently blot any moisture on top with a paper towel. Let it cool on a wire rack at room temperature for about 1 hour.
- Cover the cheesecake loosely and refrigerate for at least 6 hours or overnight. Once fully chilled, run a thin offset spatula around the edge, release the springform ring, slice, and serve.