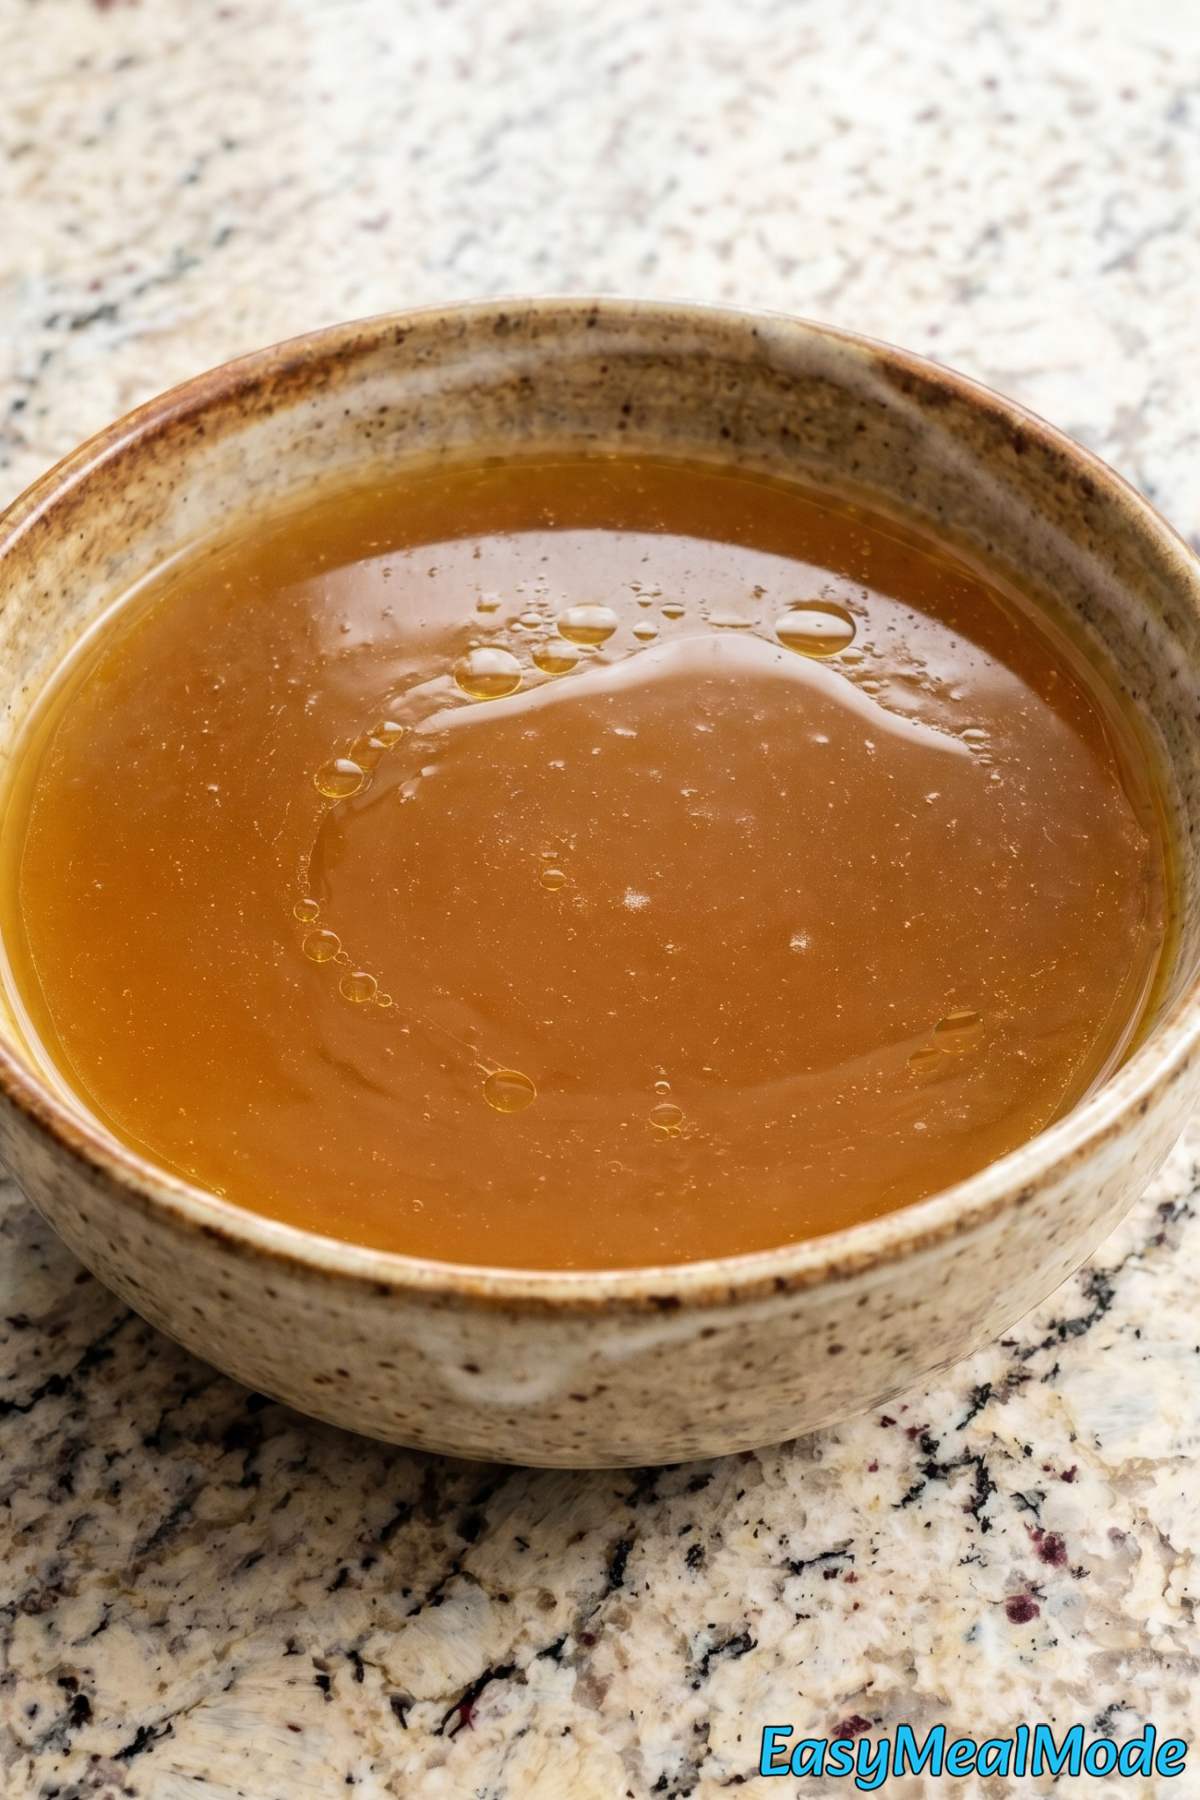
If you’ve never made instant pot bone broth before, you’re in for a treat. It’s one of those things that sounds fancy but is actually really simple to pull off.
Bone broth is great for sipping on its own, using as a base for soups, or adding to any recipe that calls for stock. Homemade always beats store-bought, and it’s not even close.
The Instant Pot cuts the cooking time down significantly compared to the stovetop method. What used to take 24 hours now takes about 2 hours of pressure cooking.
One extra step I really recommend is roasting the bones first. It adds a rich, deep flavor that you just can’t get otherwise.
This recipe makes a big batch, so you can store it in the fridge for the week or freeze it for later. Let me walk you through it.
What Makes This Recipe So Good
Way Faster Than Stovetop – Traditional bone broth simmers for 24 hours but the Instant Pot gets you the same rich result in just 2 hours.
Packed With Minerals – The apple cider vinegar pulls calcium and magnesium right out of the bones so every sip is genuinely nourishing.
Deep Roasted Flavor – Roasting the bones at 400 degrees first gives this broth a rich savory depth you will never get from store-bought cartons.
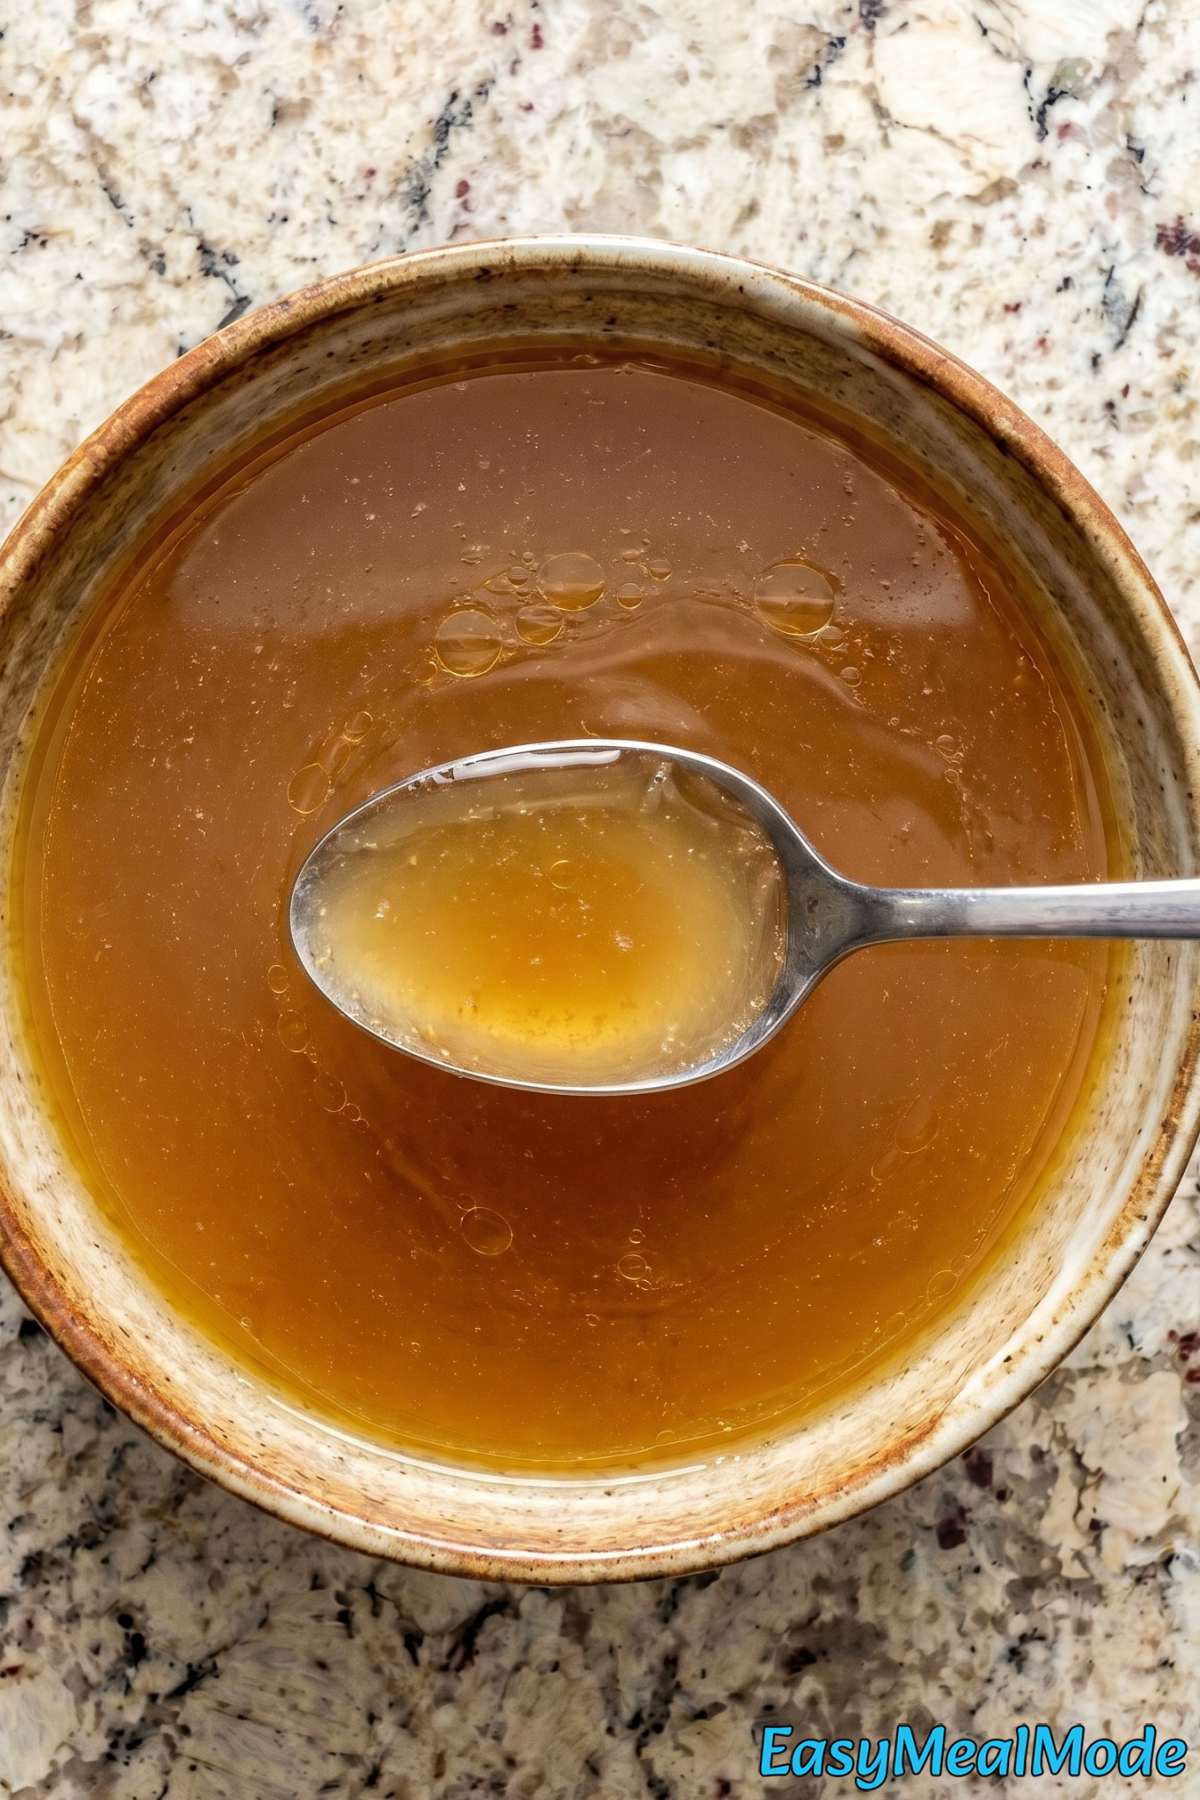
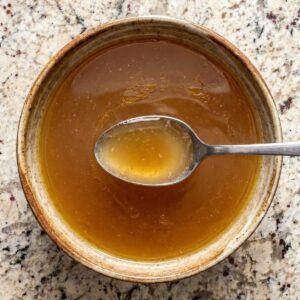
Gels Like the Real Deal – The mix of marrow and knuckle bones produces a broth so full of collagen it jiggles like jelly when chilled.
Ingredients
- 4 lb Beef Bones, a mix of marrow bones and knuckle bones
- 2 tablespoons Apple Cider Vinegar
- 1 large Yellow Onion, quartered
- 3 Celery Stalks, cut into large chunks
- 2 large Carrots, cut into large chunks
- 6 cloves Garlic, smashed
- 1 tablespoon Whole Black Peppercorns
- 3 Bay Leaves
- 4 sprigs Fresh Thyme
- 1 tablespoon Salt
- 12 cups Cold Water, or enough to reach the max fill line
Directions
Step 1
Preheat your oven to 400 degrees F. Spread the beef bones on a baking sheet in a single layer. Roast for 30 minutes, flipping halfway through, until the bones are deeply browned. This step builds an incredible depth of flavor in the finished broth.
Step 2
Transfer the roasted bones to the Instant Pot. Add the apple cider vinegar, quartered onion, celery, carrots, garlic, peppercorns, bay leaves, thyme, and salt.
Step 3
Pour in the cold water until the pot is filled to the max fill line. The vinegar helps draw minerals from the bones, so do not skip it.
Step 4
Lock the lid and set the valve to sealing. Pressure cook on high for 120 minutes.
Step 5
When the cook time is complete, allow a full natural pressure release. This can take 30 to 40 minutes. Do not rush this step.
Step 6
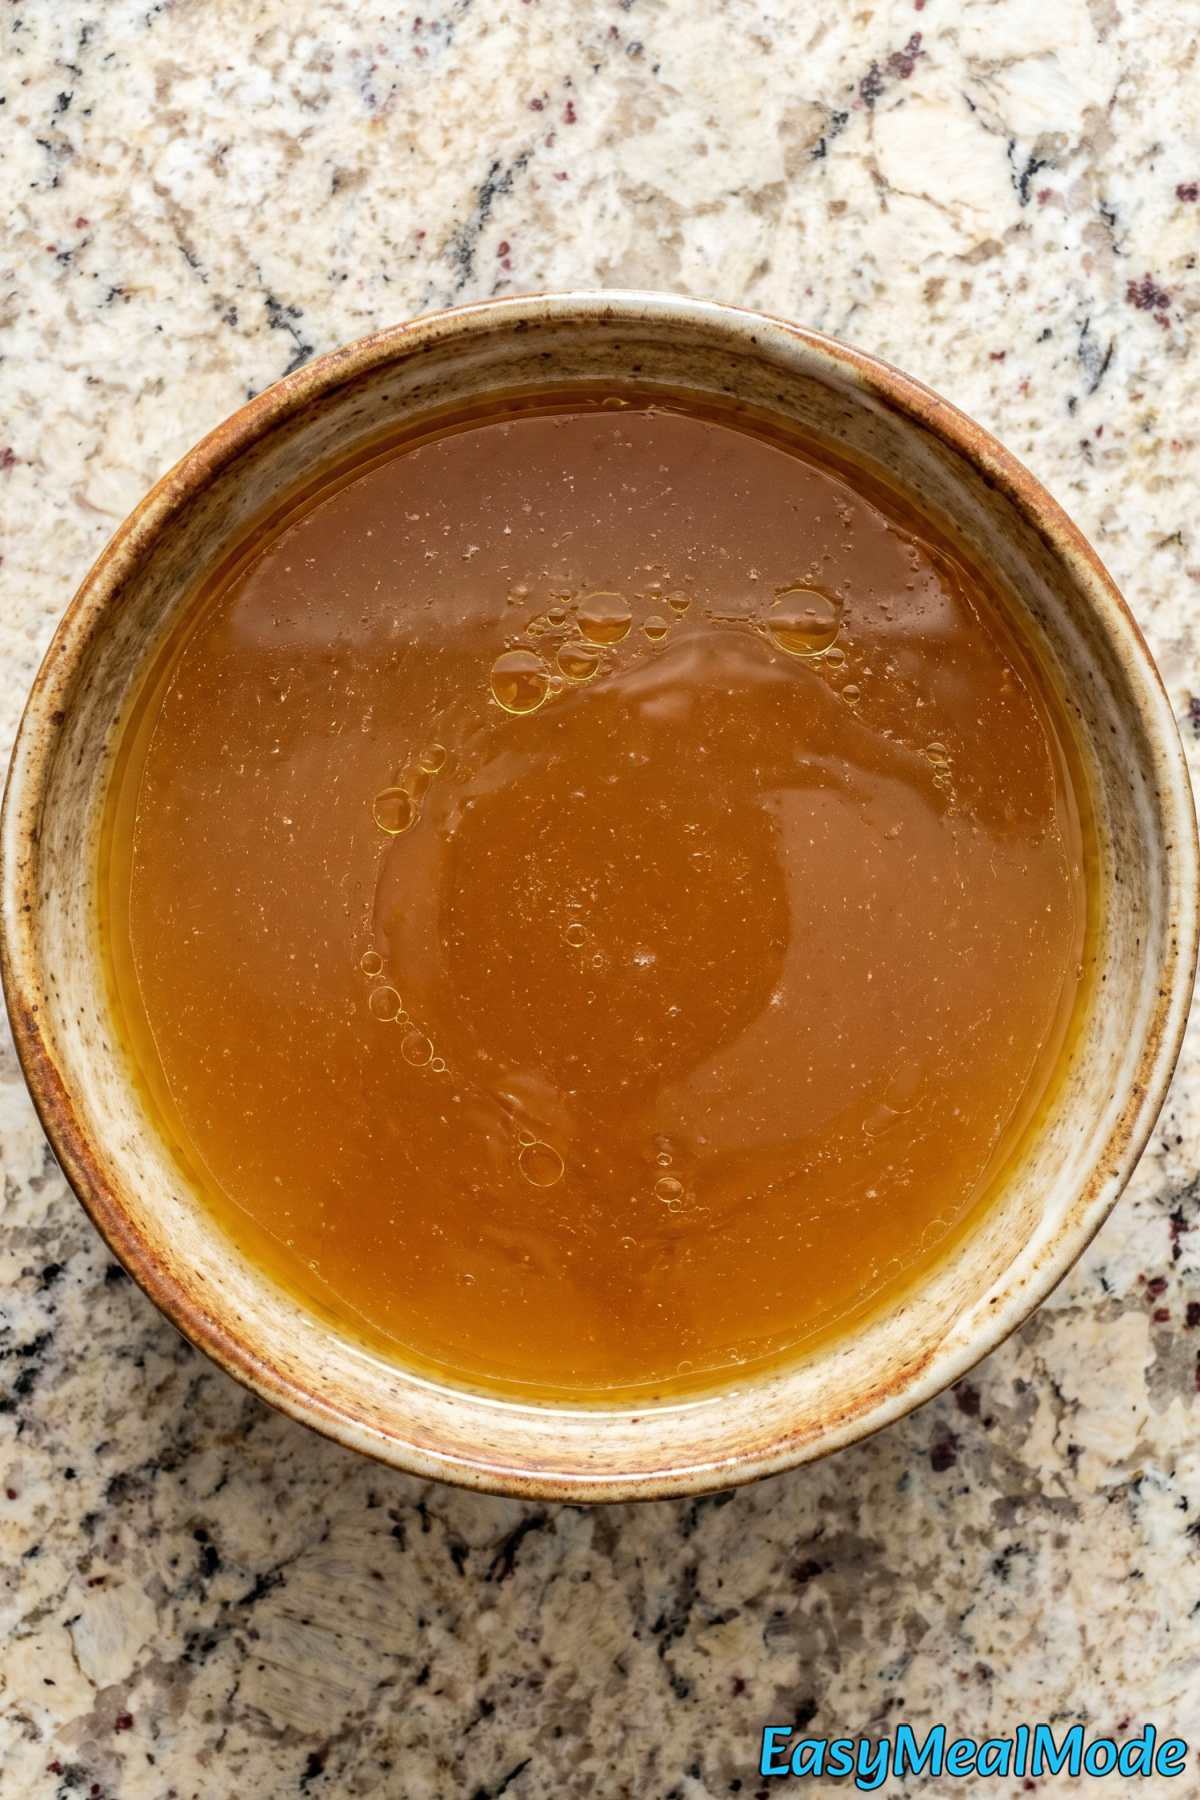
Remove the lid and carefully discard the bones, vegetables, and herb stems using a slotted spoon. Strain the broth through a fine mesh strainer into a large pot or heat-safe container.
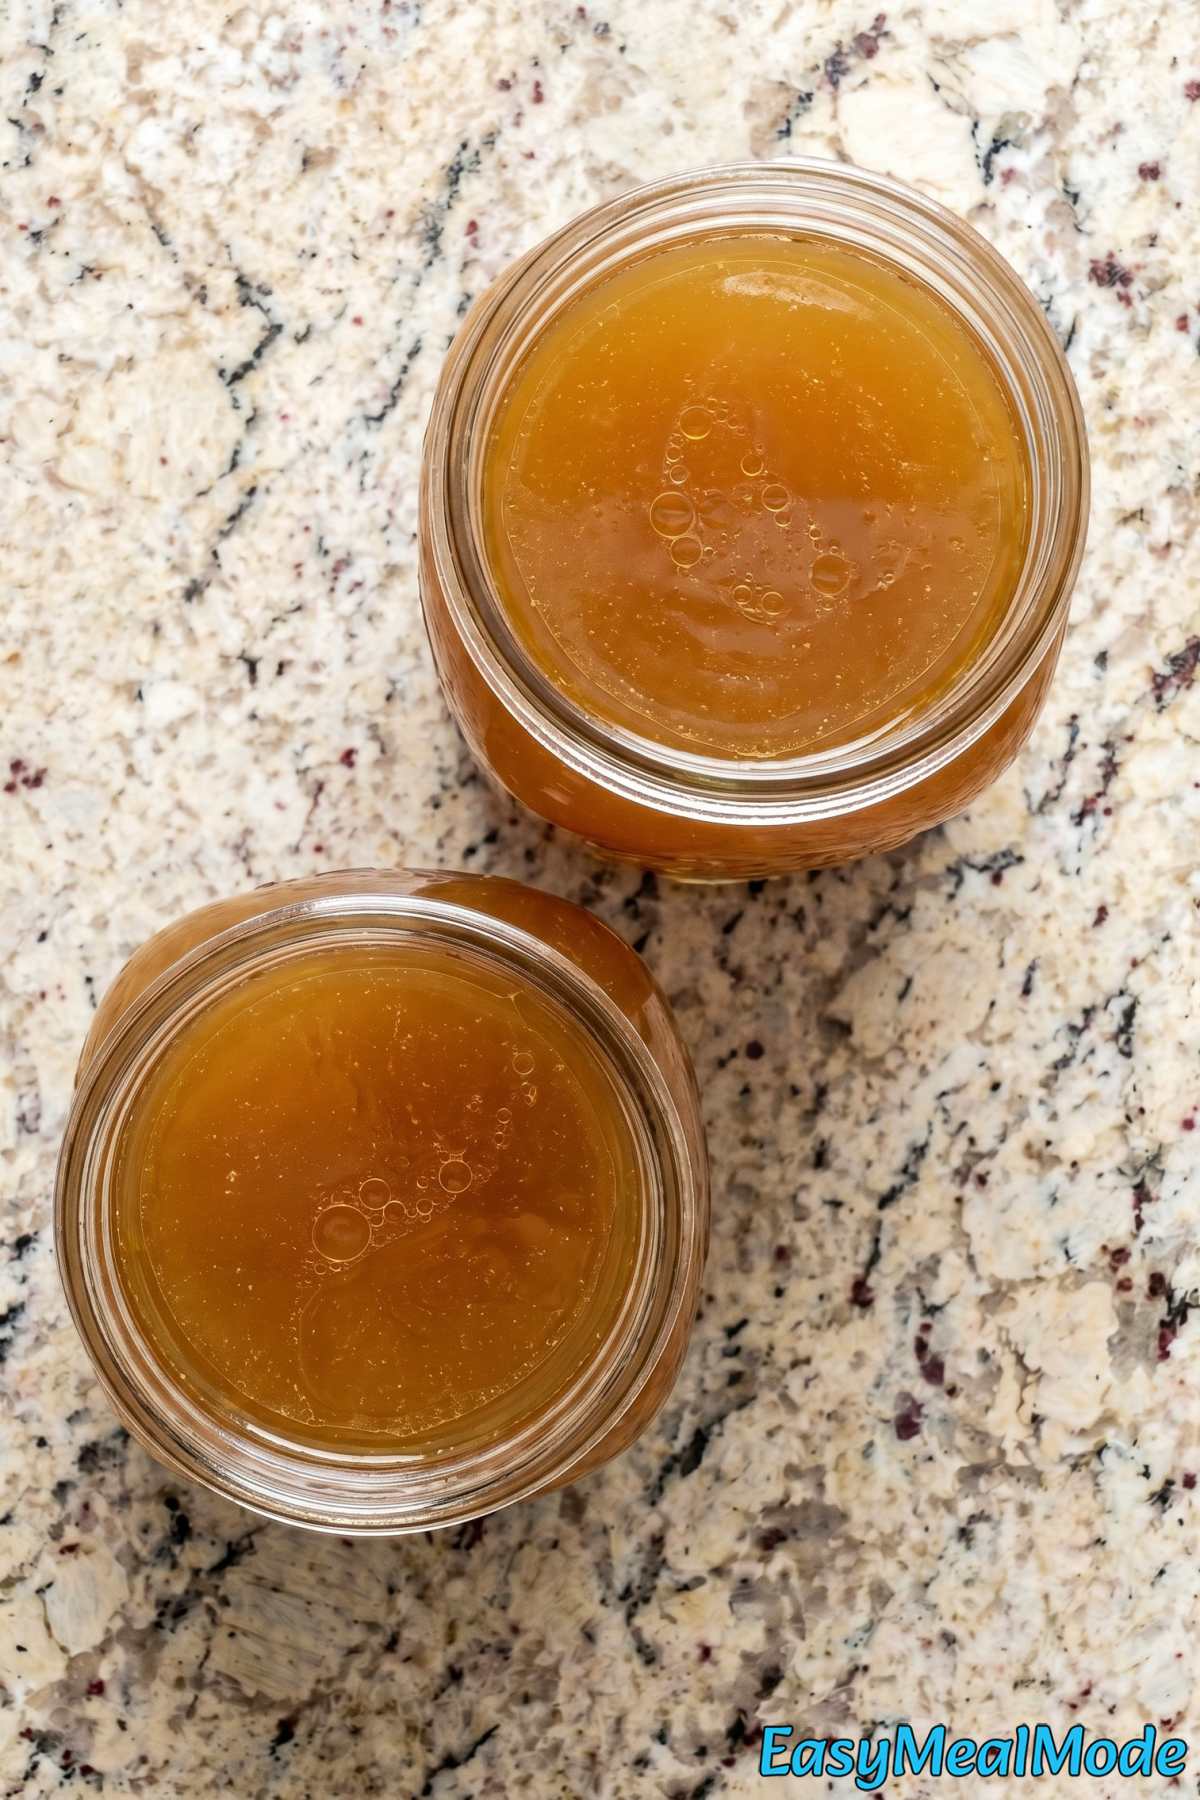
Step 7
Let the broth cool slightly, then taste and adjust the salt if needed. Store in jars in the refrigerator for up to 5 days, or freeze for up to 3 months. As it chills, a layer of fat will solidify on top, which can be removed or stirred back in.
Pro Tips
Roast the Bones Until They’re Really Dark
You want the bones to get a deep, dark brown color in the oven. Not just lightly golden – actually browned with some dark spots on the edges. This is where most of the flavor in your broth comes from.
If the bones look pale after 30 minutes, leave them in for another 5-10 minutes. Under-roasted bones will give you a flat, bland broth that tastes watery no matter how long you pressure cook it.
Also, don’t throw away the drippings on the baking sheet. Scrape all of that browned stuff into the Instant Pot along with the bones. That’s pure concentrated flavor sitting on that pan.
Use Cold Water, Not Hot
The recipe says cold water for a reason. Cold water draws out proteins from the bones slowly, and those proteins rise to the surface as foam that you can skim off before cooking. Hot water locks those proteins into the broth and can make it cloudy and slightly murky tasting.
If you want a really clean, clear broth, pour the cold water in last (after all the other ingredients) and let it sit for about 15-20 minutes before you start the pressure cook cycle. This gives the vinegar and cold water time to start pulling minerals from the bones before the heat kicks in.
Don’t Go Past the Max Fill Line
The recipe calls for 12 cups of water, but your Instant Pot size might be different. Always check the max fill line on the inside of your pot and stop there, even if that means using less water.
With bones, vegetables, and liquid all in there, it fills up fast. Going over the max line can block the valve and prevent it from sealing properly, or even cause liquid to spray out.
If you can’t fit all the water and ingredients, pull out a carrot chunk or a piece of celery. The water level matters more than getting every single vegetable in.
Related Recipes
- Instant Pot Chicken Noodle Soup
- Instant Pot Beef Stew
- Instant Pot Ramen
- Instant Pot Italian Wedding Soup
- Instant Pot Whole Chicken
Frequently Asked Questions
Do I really need to roast the bones first?
You don’t technically have to, but roasting is what gives the broth that rich, deep color and savory flavor. Without it, the broth will taste flatter and look much paler.
If you’re short on time you can skip it, but once you try it with roasted bones you probably won’t want to go back. It’s the single biggest difference between a good broth and a great one.
Instant Pot Bone Broth
Equipment
- Instant Pot
- fine mesh strainer
- baking sheet
Ingredients
- 4 lb Beef Bones, a mix of marrow bones and knuckle bones
- 2 tablespoons Apple Cider Vinegar
- 1 large Yellow Onion, quartered
- 3 Celery Stalks, cut into large chunks
- 2 large Carrots, cut into large chunks
- 6 cloves Garlic, smashed
- 1 tablespoon Whole Black Peppercorns
- 3 Bay Leaves
- 4 sprigs Fresh Thyme
- 1 tablespoon Salt
- 12 cups Cold Water, or enough to reach the max fill line
Instructions
- Preheat your oven to 400 degrees F. Spread the beef bones on a baking sheet in a single layer. Roast for 30 minutes, flipping halfway through, until the bones are deeply browned. This step builds an incredible depth of flavor in the finished broth.
- Transfer the roasted bones to the Instant Pot. Add the apple cider vinegar, quartered onion, celery, carrots, garlic, peppercorns, bay leaves, thyme, and salt.
- Pour in the cold water until the pot is filled to the max fill line. The vinegar helps draw minerals from the bones, so do not skip it.
- Lock the lid and set the valve to sealing. Pressure cook on high for 120 minutes.
- When the cook time is complete, allow a full natural pressure release. This can take 30 to 40 minutes. Do not rush this step.
- Remove the lid and carefully discard the bones, vegetables, and herb stems using a slotted spoon. Strain the broth through a fine mesh strainer into a large pot or heat-safe container.
- Let the broth cool slightly, then taste and adjust the salt if needed. Store in jars in the refrigerator for up to 5 days, or freeze for up to 3 months. As it chills, a layer of fat will solidify on top, which can be removed or stirred back in.